


Step 1 Inspection, Step 2 Ply/Veneer Sections Cut, Step 3 Glueing, Step 4 Moulding, Step 5 Ready for Sanding, Step 6 Each Shell is Cut to Required Depth, Step 7 Spraying, Step 8 Curing Ready for Shell Prep, Step 9 Shell Finishing, Step 10 Drilling for Lugs and Fittings Prep, Step 11 Lugs and Fittings Stage
Making a Liberty Drum
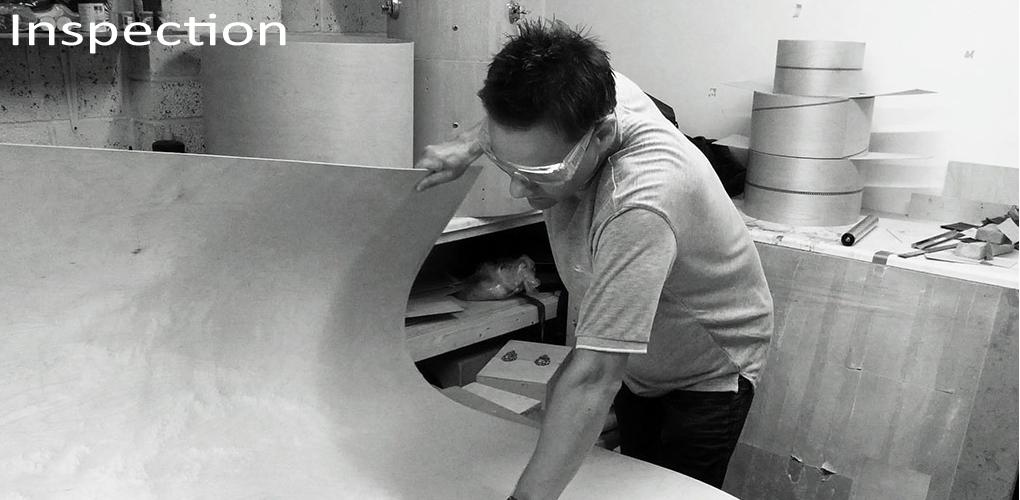
Everything begins with the selection of the finest timber to make your shell.
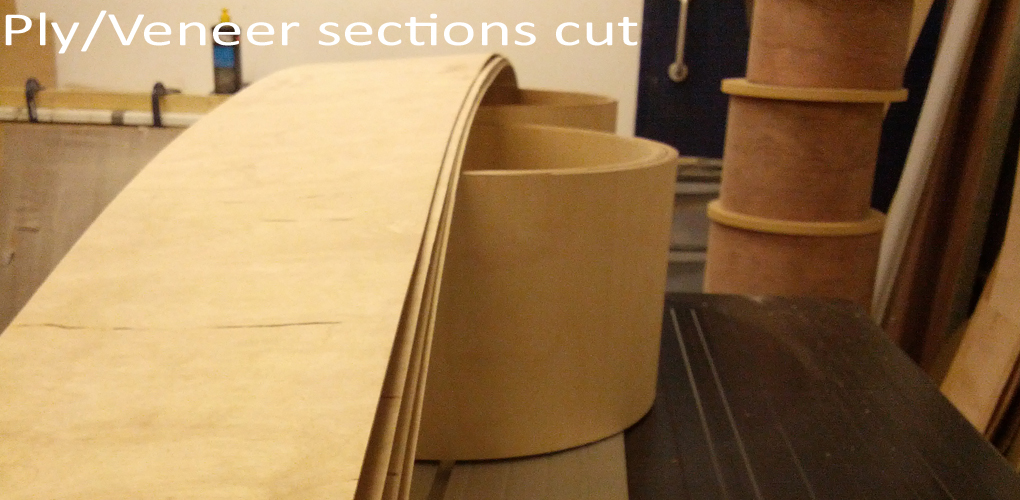
Next, the ply or veneer is measured and precisely cut in readiness to be placed in the mould. Each ply section is coated with a special glue component and carefully manipulated into place within our solid walled moulds.
It is very important that each layer butts up perfectly throughout outer and middle plies, something mass produced shells sometimes don’t always achieve.
Once we have each ply glued and in place we then apply external pressure using our purpose built moulds. We don’t use any heat methods during the bonding but leave the natural drying process to take its course whilst in the mould.
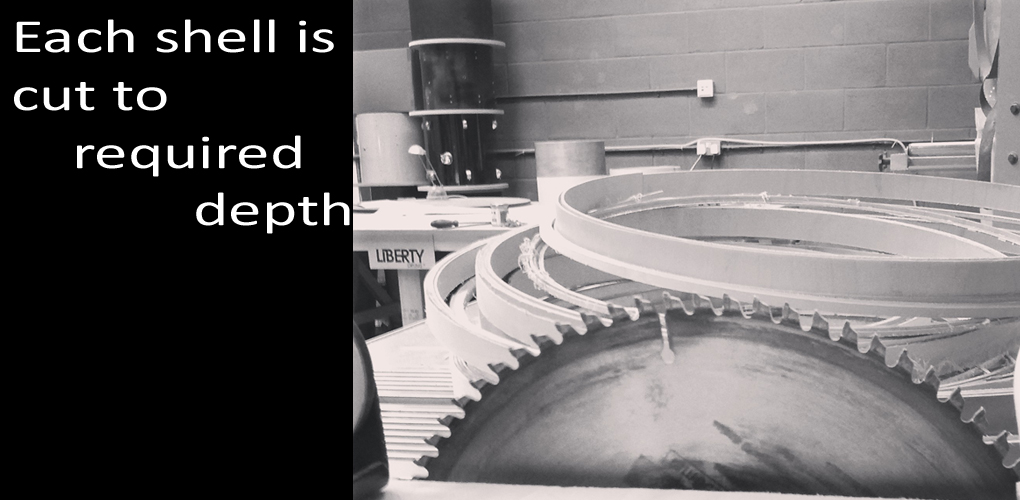
Next, your drums are extracted from the moulds and carefully sanded and cut to required depth. The bearing edges are then precisely cut ready for the finishing stages.
Next phase if the finishing from Lacquer, Waxes or oils depending on the product requirement.
Your drum is now ready for the drilling stage with each fixing point precisely marked and drilled by hand.
Next we add the lugs, floating system, heads, and the final touch with our Liberty badge.
Once assembled, your drums are carefully factory tuned then a final inspection is carried out before the final packaging process commences. Now they are ready to be shipped.
The most important thing is that each step of the production stage your drums go through a quality control process in fine detail to ensure the finished product is exactly how you want it.
Each element of your drums are cut, glued, sanded, coloured/ sprayed, drilled and parts all fitted by hand.